![]()
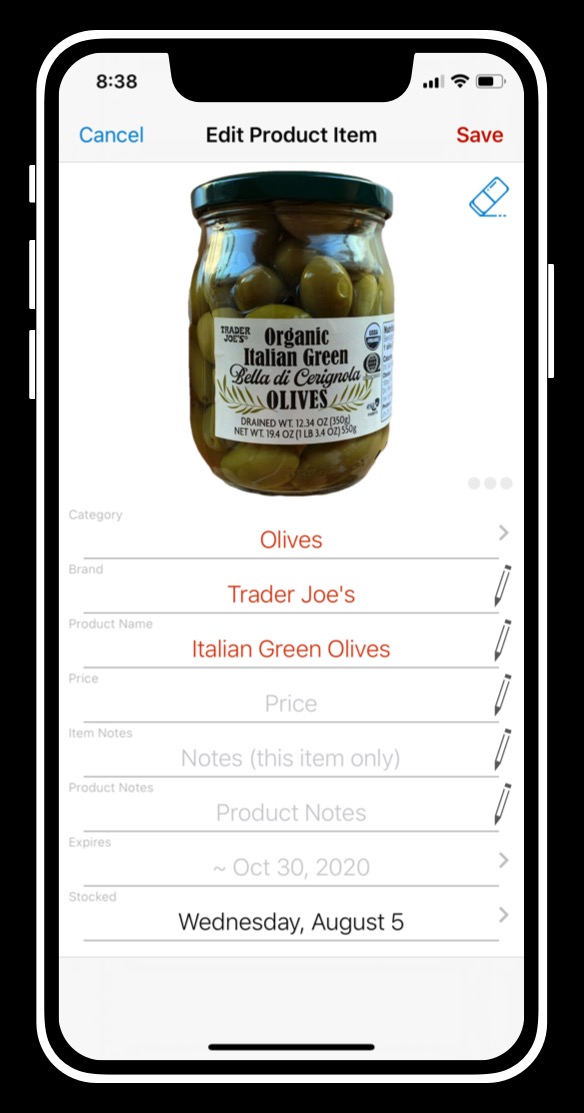
- Product data is the data shared between all items of a product, like product name, brand, category, etc.
- Item data is data specific to a particular product item like expiration date, amount at hand, item notes, location, etc.
![]()
Public product data submitted through Pantry Check is added to the crowd-source database and becomes visible to all users. For details, refer to our privacy policy.
![]()
Public product photos submitted through Pantry Check are added to the crowd-source database and become visible to all users. For details, refer to our privacy policy.
- Tap on a product item to go to the details screen.
- Tap the camera button and take a photo of the product.
- In the photo preview screen you can zoom and pan to center the photo.
- Tap Submit to submit the photo.
- In the submit dialog confirm if you’d like the photo to be the default photo for this product.
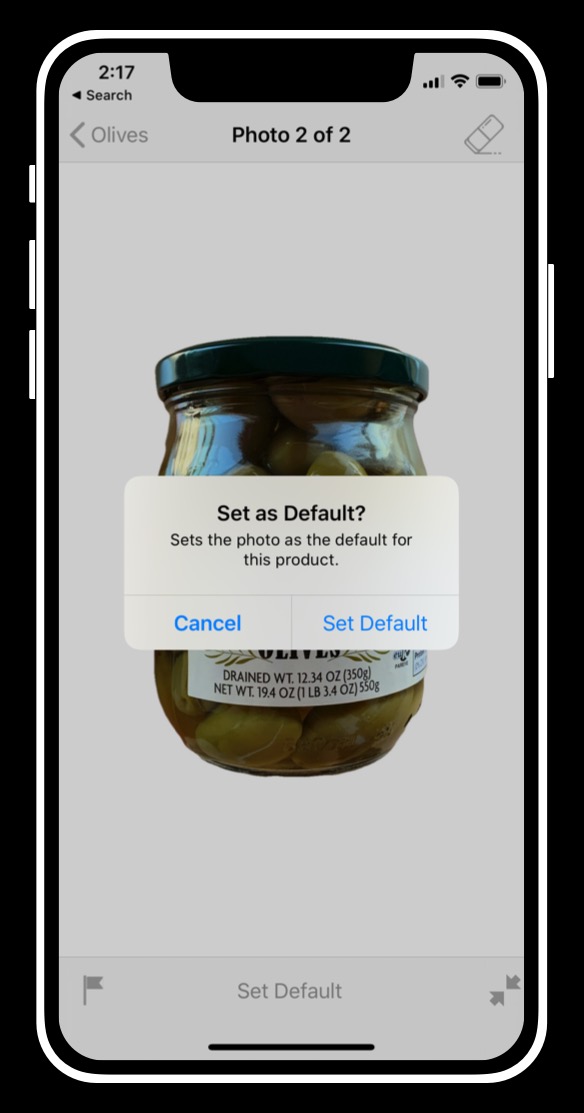
- Tap on a product item to go to the details screen.
- Swipe sideways to locate desired photo.
- Tap on the three gray ellipsis in the bottom-right corner of the photo to open the photo options screen.
- Tap the Set Default button and confirm in the dialog.
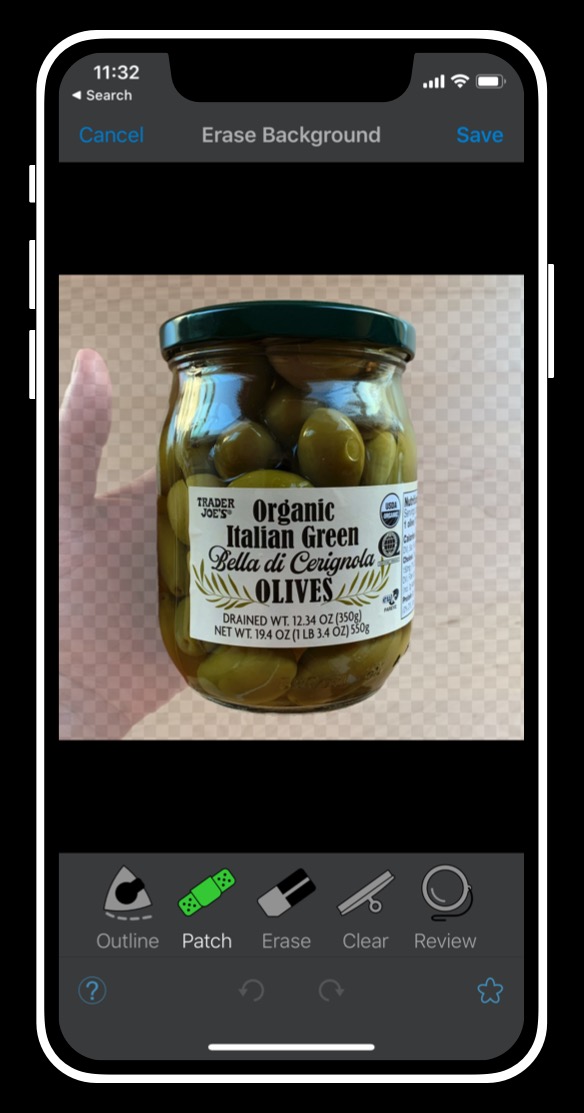
- Tap on a product item to go to the details screen.
- Tap Edit to switch to edit mode.
- Tap the eraser button in the top-right corner of the photo.
- Watch the built-in Quick Start Guide to familiarize yourself with the tools and then edit the photo.
- When finished editing, tap Save to persist the changes.
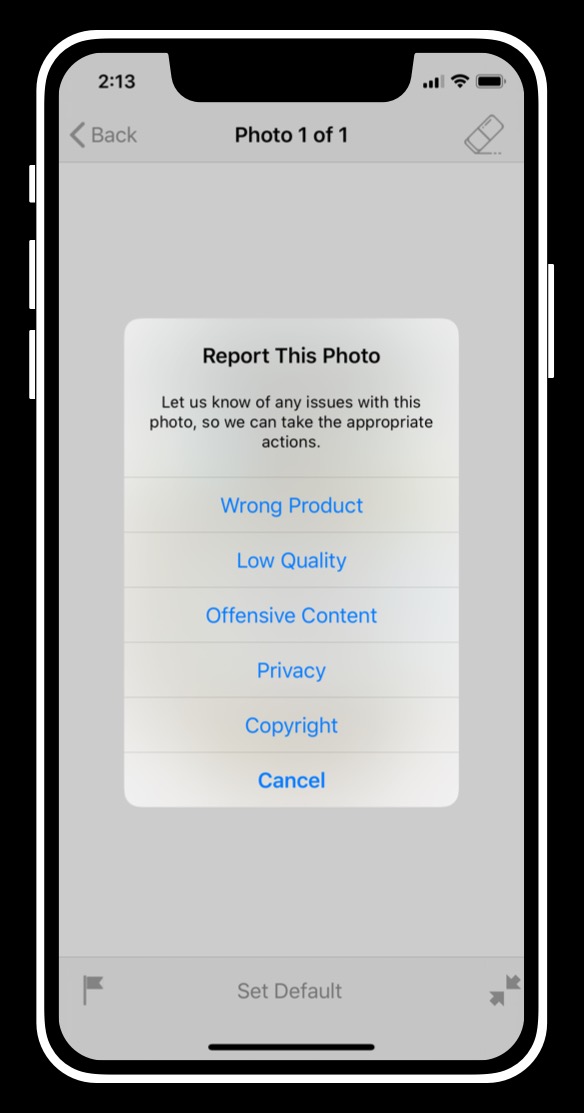
- Tap on a product item to go to the details screen.
- Swipe sideways to locate desired photo.
- Tap on the three gray ellipsis in the bottom-right corner of the photo to open the photo options screen.
- Tap the flag button and choose the reason in the dialog.